Showing posts with label food. Show all posts

Wednesday, October 1, 2014

Gluten-Free Vegan Pumpkin Pie Bars!

IMG_0360

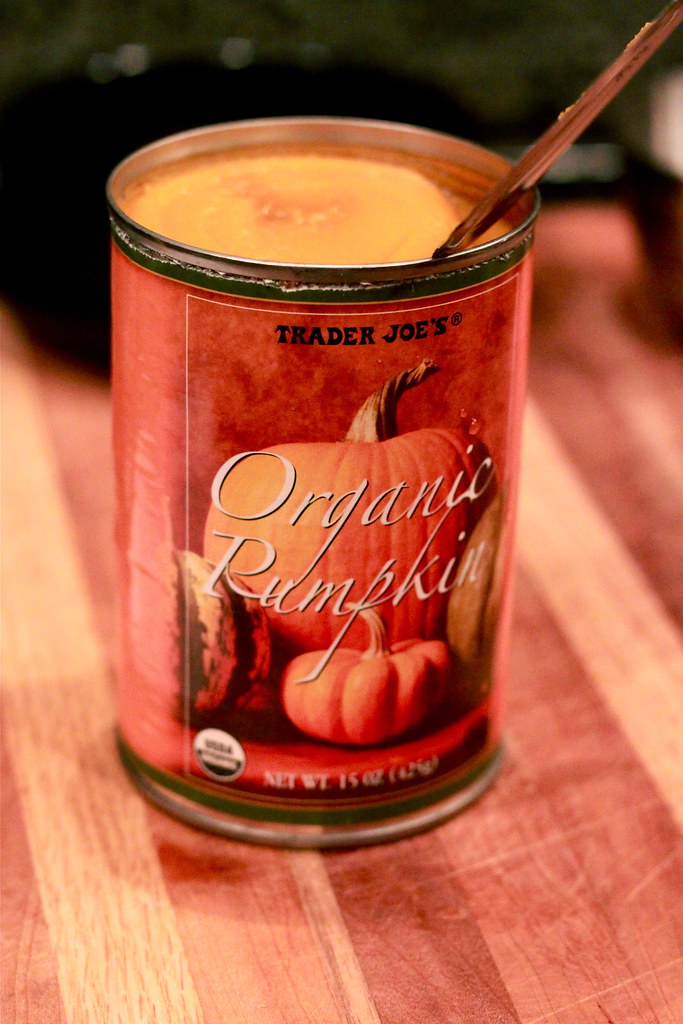
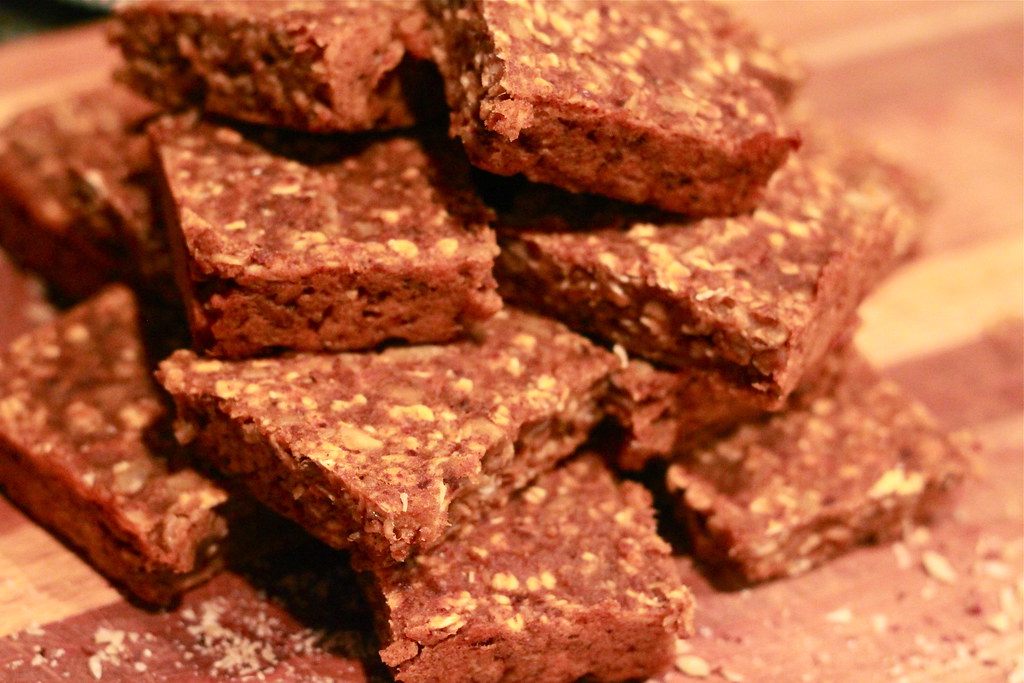
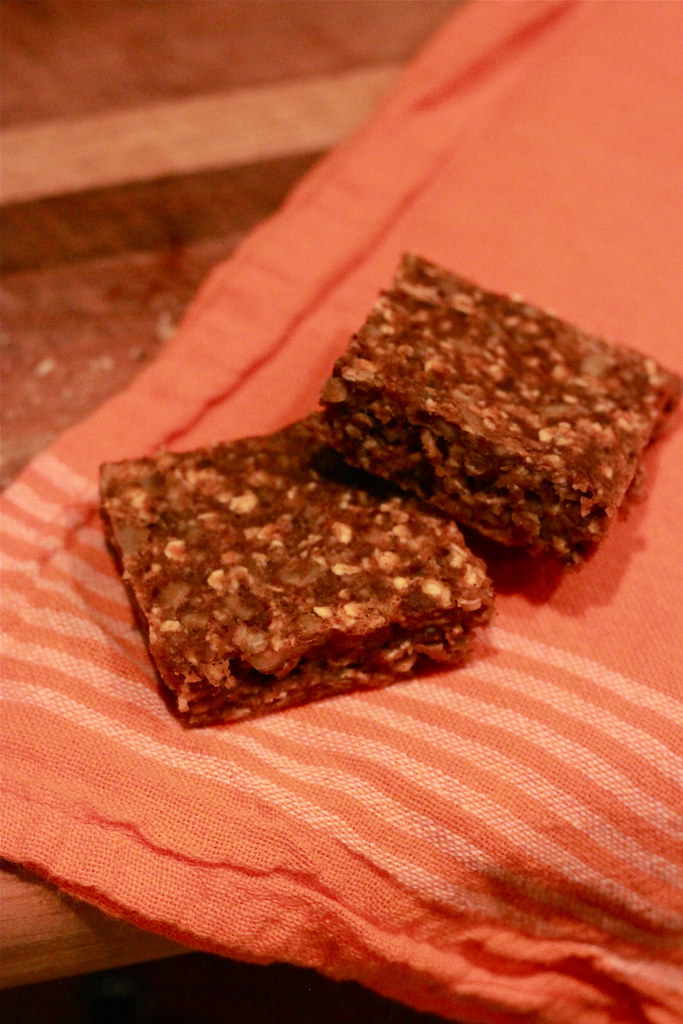
Happy October everyone! There are a couple of reasons that I am really excited about this post. For one, I am obsessed with pumpkin. I absolutely adore indulging in all things flavored with this wonderfully seasonal fruit. This is very clearly illustrated on my Instagram. The second reason that I'm excited about this post is because it's my first recipe post that is completely gluten, dairy, egg, soy, and peanut free! As I have mentioned briefly on my blog before, I have these five food intolerances, which makes enjoying many common foods impossible. Since I found out about my dietary restrictions about seven months ago, I've been on the look out for substitutions and replacements for my favorite foods. I've found some wonderful alternatives to some of them, but I've been a little bit worried about completely missing out on this fantastic pumpkin season. Last time I was at Trader Joe's, I picked up some pumpkin butter (surprisingly not made with any dairy at all) and a couple cans of pumpkin purée, having every intention to make the effort to add pumpkin to my diet this way, despite the fact that I can't have pumpkin pie, pumpkin roll, pumpkin bread, etc. So when I found this recipe in my Living Without's Gluten Free magazine, I thought, What a perfect way to kick off my pumpkin spree! I made a couple of adjustments to the recipe, based on what I had available to me in the house, but I think they came out great! I hope that even if you don't necessarily have food restrictions that you still give them a try. They are healthy and yummy and easy to make. So without further ado, here we go!
IMG_0314

IMG_0347

Pumpkin Pie Bars

Makes 8 Bars

1/2 cup chopped dates
1/4 cup maple syrup, honey or coconut sugar
1 tablespoon coconut oil, organic margarine or grape seed oil
3/4 cup pure pumpkin purée
1 cup gluten-free oats
1/2 cup sunflower seeds
1/4 cup pumpkin seeds
1 tablespoon ground chia seeds or flax meal
2 tablespoons amaranth flour
1 teaspoon pure vanilla extract
2 teaspoons ground cinnamon
1/2 teaspoon ground ginger
1/2 teaspoon ground nutmeg

1. Preheat oven to 350 degrees F. Lightly grease an 8X8-inch pan or line it with parchment paper.

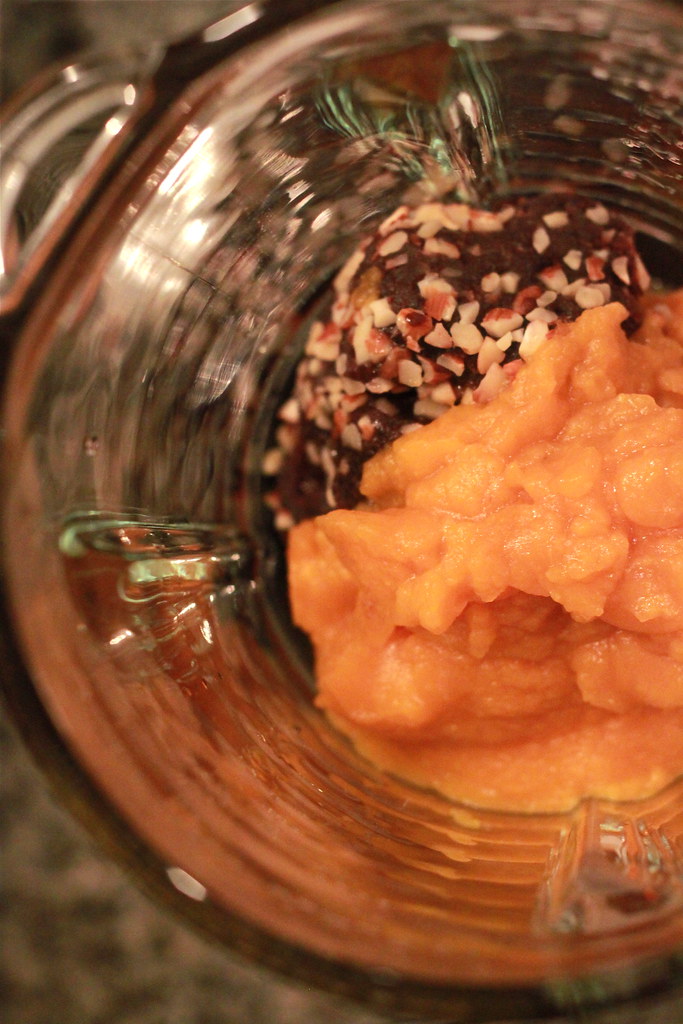
2. In a food processor, combine dates, syrup, oil and pumpkin. Pulse until mixture forms a paste.

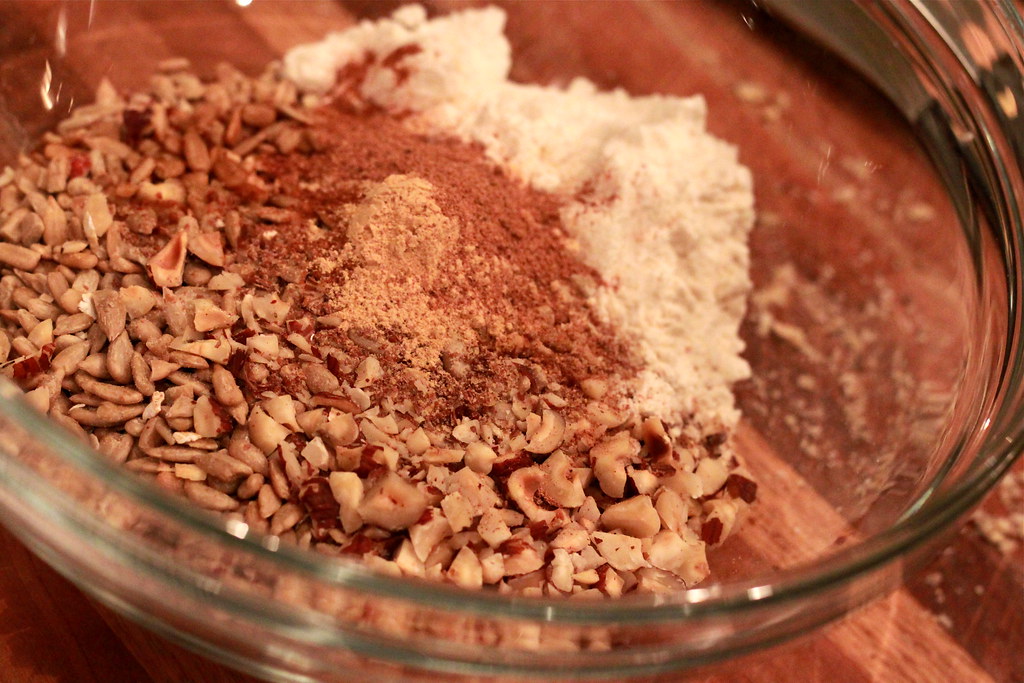
3. In a medium bowl, place oats, sunflower seeds, pumpkin seeds, chia seeds, amaranth flour, vanilla, cinnamon, ginger, and nutmeg. Stir until well combined.

4. Add date paste to dry ingredients and blend thoroughly.

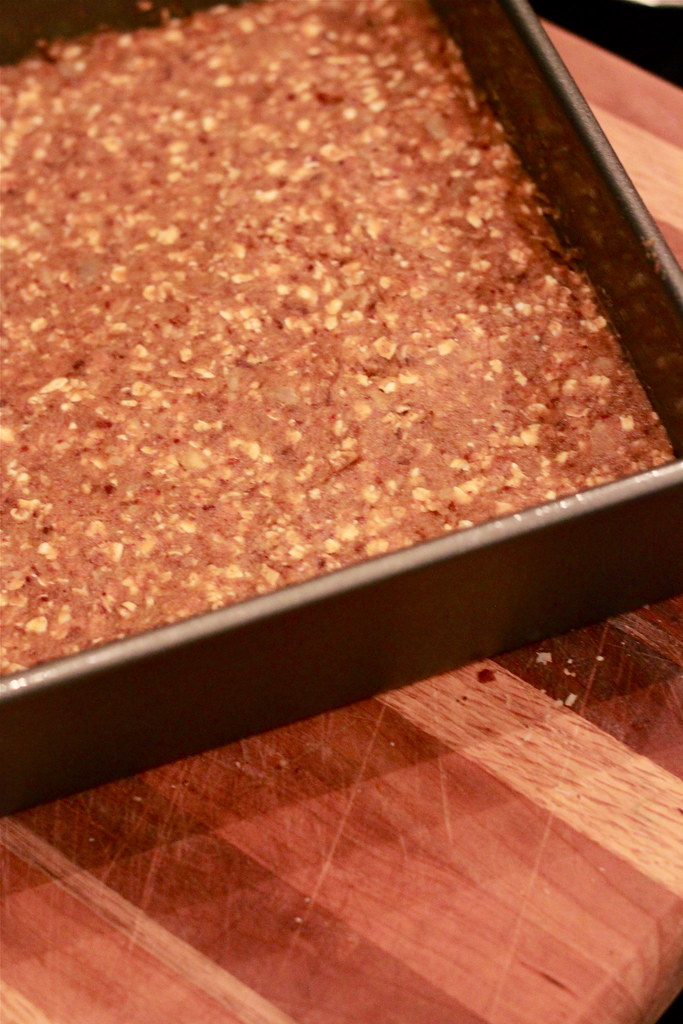
5. Press mixture evenly into prepared pan.

6. Place in preheated oven and bake 20 to 25 minutes.

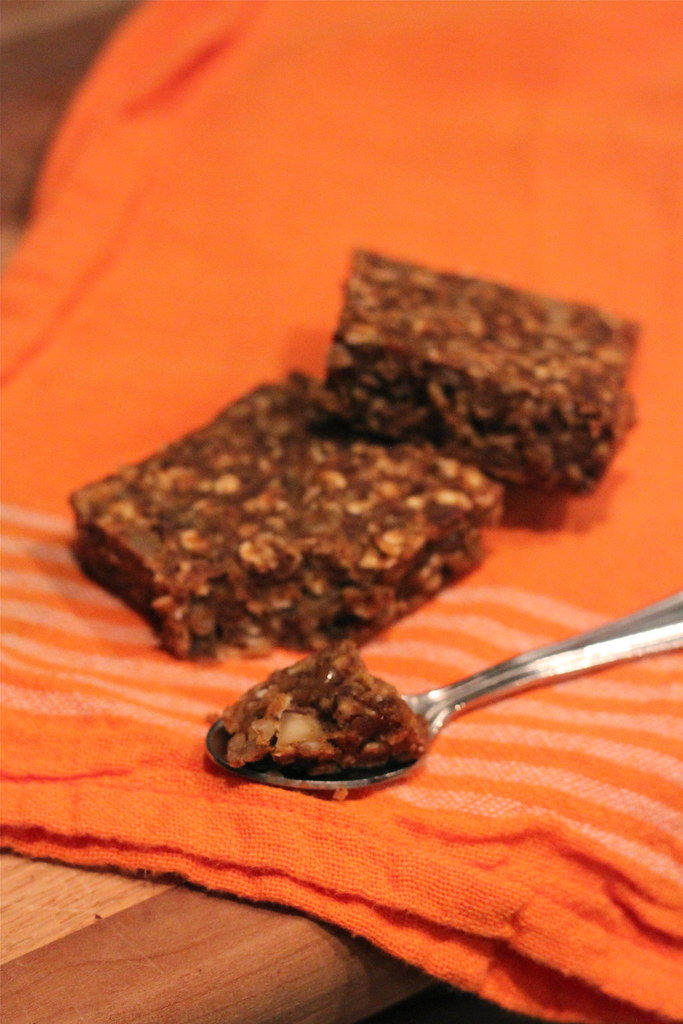
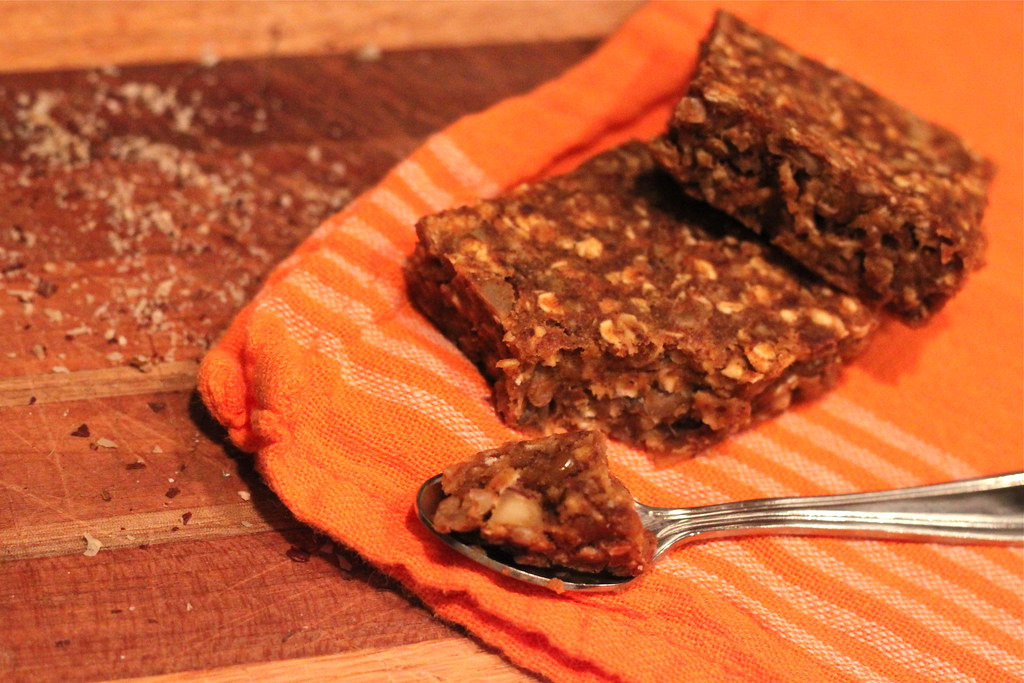
7. Remove from oven and let cool in the pan completely before cutting.

Recipe taken from Living Without's Gluten Free magazine, August/September 2014 issue.
IMG_0320

IMG_0338

IMG_0340

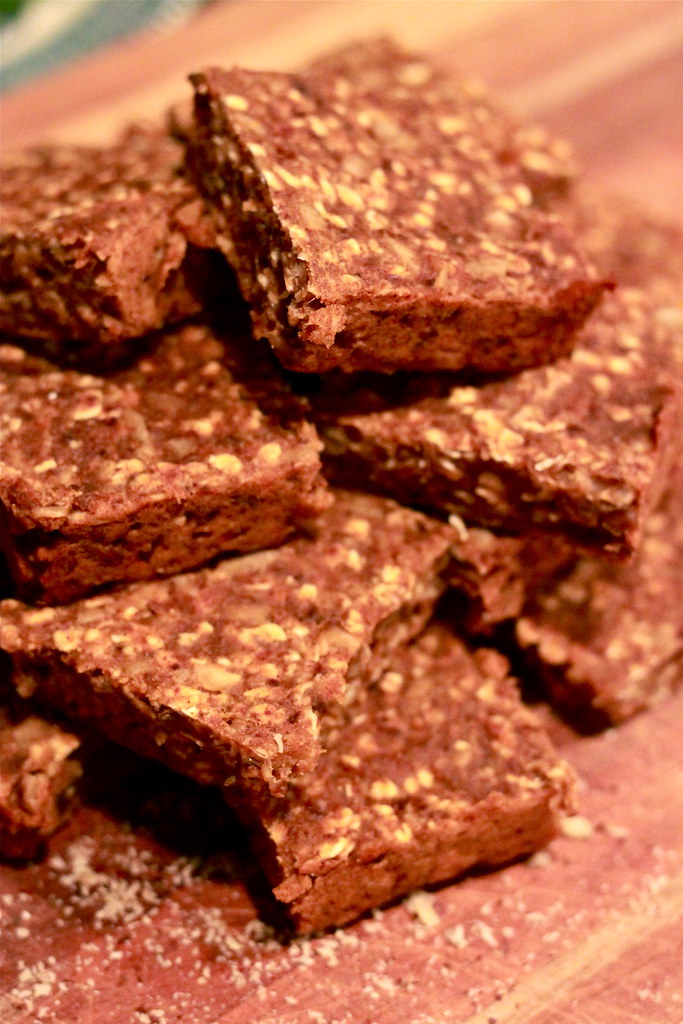
For this first time around, I used maple syrup and flax meal. I replaced the oil with dairy, soy-free butter substitute, and used all-purpose gluten-free flour in place of amaranth flour. I also used chopped hazelnuts in place of pumpkin seeds. Again, this was purely because of what I had on hand. Next time, I absolutely want to use the ingredients that are listed in the recipe, and I think I'll try honey in place of the maple syrup. Overall, though, I think they are delicious and a wonderful way to have my lovely pumpkin while still keeping within my dietary limits.
IMG_0349

IMG_0350

IMG_0358

Let me know if you try them and what you think! Do you have any food restrictions? What kinds of substitutions do you make?

Monday, September 16, 2013

Cupcakes Cupcakes!

IMG_5103

A couple of weeks ago at the beginning of the semester, we invited all of the new theatre students to join the scholarship students (that's me!) and the faculty and staff of the Cleveland State University Department of Theatre and Dance for a little welcome gathering so that we could all meet and get to know one another. I thought, what's a party without something sweet? So I made cupcakes, and lots of them.

IMG_5069

I had seen an idea on Pinterest to use ketchup cups to make mini cupcakes, and since we had those on hand, I thought it would be a great way to test the idea. Plus they are just so cute! They ended up being the perfect size, even if it was a little bit tricky to figure out the best way to open them. Some people were treating them like jello shots until we realized that you could pull the rim apart and it would fall right out. I think that their size also allows them to bake better than regular sized cupcakes, because they were especially fluffy.

Our school color is green, so I used green edible glitter to decorate the cupcakes, as well as both silver and gold shimmer. I also use my Cricut (the most awesome crafting machine ever) to make little signs to stick in the tops of the treats, just to add a little something extra.

IMG_5065

IMG_5062

I opted to do both yellow and chocolate cupcakes, but I used the same frosting on both. It's my homemade buttercream, and it gets RAVE reviews. I have perfected it over time, but at the core, it's just the basic Wilton buttercream recipe:

1/2 cup butter
1/2 cup shortening
1 teaspoon vanilla extract
4 cups confectioner's sugar
2 tablespoons milk

Cream the butter and shortening together to start. I have found that this is tremendously easier if the butter is at room temperature. If you don't have an electric mixer (hand mixers work better for this than stand mixers), you can use a hand whisk, but it takes a lot (and I mean A LOT) of work, especially if your butter is still cold. It is possible, however. I've done it.

Once they are well combined, add the vanilla and mix well.

Gradually add your sugar, one cup at a time. Again, electric mixer beats whisk any day. The frosting should be stiff at this point. Don't worry about that, it's normal, and even necessary for your final consistency.

Once all your sugar had been added and mixed well, gradually add milk until you get the consistency that you want. Stiffer is better for piping and detail work, while a little bit of a softer consistency makes frosting a cake super quick and easy. If you add too much milk, it can easily be fixed by adding more sugar.

Voilà!

I don't really use this recipe any more because I have found which measurements work better for me. However, I couldn't tell you what they are because I don't actually measure anything. I have gotten the hang of how much sugar is enough and then how much milk is enough. I go slowly adding my ingredients because the consistencies tell me everything. I come out with great frosting every time! If you're not quite ready to let go of those measuring cups yet, this recipe is absolutely smashing when followed to the t. Also, I have made it with all butter, rather than half butter and half shortening, and it's much richer, but still delicious. You can also substitute different extracts to get different flavors. For example, I have used almond before to get an almond-flavored frosting. I also used almond milk and it was just delightful! This recipe is so simple that you can play with it and tweak it. So fun!

IMG_5108

IMG_5104

My family liked them so much in fact, that I was asked to make them again for our Labor Day get-together! So I used the rest of our ketchup cups and got to work. This time I decorated them all with orange glitter. It was a little bit less fancy, but still just as festive, and my family went nuts over them.

These cupcakes were an absolute hit! Everyone, from staff members to students to my own family, was saying how they were the best cupcakes they'd every had. I encourage you to go get some ketchup cups and try this!

IMG_5099

What's your favorite thing to bake?

Friday, August 30, 2013

My Trip Told in Food Photos

Food is one of life's greatest pleasures, I think. When you go to Europe, it's only natural that you should find some of the most delightful dishes with some traditional, fresh, and authentic ingredients. From Belgium to France to England, we found great restaurants, wonderful bakeries, and even an ultra-fresh market. Of course I had to snap some pictures of our meals before we ate. Not only was it all so tasty, but also picturesque!

Starting in Belgium, mom and I shared a yummy open-faced sandwich with tomatoes and goat cheese. Cheese is so much more delicious in Europe. We also tried a mitraillette, which is a big baguette split down the middle and filled with hamburger, fries, and sauce. The hamburger is *way* different from how we know it here in the USA, but the fries and sauce are definitely superior. Of course, there are going to be the Belgian waffles! They are much denser, sweeter, and tastier than in the States, and are never eaten for breakfast. Rather, they are sold on the street, sort of like a funnel cake at a carnival, except every day, everywhere. Amazing. We also ate the traditional Belgian meal of mussels, fries, and beer. Mom had a cherry one and mine was peach. Belgian (flavored) beers are the only ones I really like. Our meal also happened to come with an appetizer and dessert. I had salad shrimp and chocolate mousse. Belgian chocolate is paradise.

IMG_9933

Aug 22, 20136

IMG_2595

Aug 22, 20132

In Paris, the food was actually less than extravagant because we chose to eat at moderately-priced restaurants. The food was delicious, but I didn't snap many photos. Except at this lovely bakery! It was at the corner right by our hotel and we stopped there quite a few times. Croissants in Paris is so wonderfully cliché, and for a reason. It's delicious and just somehow perfect.

IMG_0359

Some of the best food we had was in Provence. We found a little outdoor terrace that had a nice salad menu for dinner with very interesting, light meals. Mine had some sort of poultry on it, but even after looking it up, I still don't quite know what it was that I ate. Who knew mystery meat was actually delicious? My mom's salad even had potatoes on it! I also had speculoos ice cream, which I've had in the past, but it was great to taste it again. If you don't know what speculoos is, look it up. It's wonderful, and even though it's not super easy to find, you can get it in the States now. We also went to an amazing market where we saw all kinds of interesting food (more to come on that later) and brought home fresh cheese, strawberries, bread and tomato for a wonderful outdoor picnic. Not to mention every morning we started the day with fresh rolls, croissants, and jams.

IMG_0672

IMG_0676

photo

IMG_0798

IMG_0803

Aug 22, 20133

In London, where we thought the food would be the worst, we were actually treated to some unexpected treats! We actually took our afternoon tea (!) on the first day, and accompanied that with a wonderful cauliflower soup. We also had the typical fish and chips in a local pub and it was so good! The piece of fish was huge and rather than just being a basket full of greasy deep-fried food, it was served with a little salad and peas. Mom and I definitely appreciated that.

Aug 22, 20134

IMG_1047

What's the best thing you ever ate? Where did you have it?

Thursday, July 11, 2013

Orange Blueberry Cornbread Muffins


My family and I went to see the Cleveland Orchestra last week at Blossom Music Center. It's a beautiful outdoor concert pavilion with a huge lawn where you can pop a squat, set up a picnic (complete with wine, of course), and enjoy the music. We had our classy picnic foods, like cheese and crackers, macaroni salad, and fruit. To add to our meal, my sister asked me to make these muffins from a recipe she found. I'm not sure which cookbook the original recipe came from, so unfortunately, I can't lead you to it. Just know that this is not my recipe specifically, but I'm just passing it along!


The original recipe goes as follows:

Ingredients:
*Grated zest and juice of 1 large orange (about 1/2 cup juice)
*1/4 cup mild vegetable oil
*2/3 cup milk
*1 (15-ounce) box Trader Joe's Cornbread Mix
*1 cup fresh or frozen blueberries

Instructions:
Preheat the oven to 400 degrees (F) and line a standard 12-cup muffin tin with liners or lightly grease and flour the cups. In a large bowl, combine the orange zest, juice, oil, and milk, and whisk to combine. In two batches, incorporate the cornbread mix. Gently fold in the blueberries. Spoon the mixture into the muffin cups, filling to just under the rim. Bake until golden and a toothpick inserted into the center comes out clean, 15 to 18 minutes.
Makes 12 muffins.


I only managed to make 11 because I filled them a tad too much, but it made for very pretty, fluffy muffins. I also opted for fresh blueberries and I accidentally used gluten-free cornbread mix. It also wasn't Trader Joe's. Now you know my cornbread muffin secrets. Using the gluten-free cornbread mix was totally a good move, though! I really enjoyed the texture and flavor. I didn't even realize I had bought gluten-free until I had gotten home and saw the label. Of course, it didn't bother me, but I was worried that my dad and sister wouldn't like them. Everything turned out well, though, and everyone enjoyed them. Even my little two-year old cousin; he ate a whole one himself!


They can also be made dairy-free or vegan by using almond, rice, or soy milk. Don't like blueberries? I think they'd be just as tasty with dark chocolate chips or blackberries. Think they need a little extra sweetness? Try adding a little honey or agave nectar. Since they are so simple, there is definitely room to change some things around or doctor the recipe a bit. It's also great inspiration to go take a bakery mix and make it your own! Oh and they're perfect for breakfast!


What would you add to your cornbread?

Sunday, June 30, 2013

My Love Affair With Food

Food and I have been through a lot together. Food has gotten me through some really rough times, such as my homesick days in Belgium or my very sad breakups. It has also been there on the really awesome days, like birthdays and holidays! One thing is for sure, I love food.


In my quest to be as healthy as possible (and to lose those extra ten pounds...), I have done A LOT of research on food and our bodies. I have to admit, at times it sent me into full-blown panic attacks. I couldn't imagine how food could turn on us like that to screw with our internal sciences and make us walking balls of fat. I would get so worked up that I would be convinced that I had to hate food in order to finally become the thin, healthy version of me that I wanted to be. And what did that cause? Unhealthy habits and ungodly cravings.


Finally I learned to calm myself down and use my own brain to figure out how I wanted to live my life and form my own eating habits. I found that I can still LOVE food as much as I always have. In fact, loving food is how I got inspired to find new combinations, try new foods, and learn amazing things about the joys that eating can bring. Nothing says we can't enjoy our food. In my opinion, we can also splurge every now and then and have a (small) piece of that tempting chocolate cake. After all, what is life without a little indulgence? The keys are just moderation and learning to respect your body enough to want to take care of it.


Not only do I love preparing and eating food, I also love photographing it. If you couldn't already tell... I have a tendency to take a lot of pictures, not only of meals but also of foods in general when I'm at the market or happen to pass a particularly scrumptious-looking basket of fruit! It's especially bad when I'm traveling. Many of the photos you see on this post are from my year in Europe! My family sometimes thinks I'm a little nutty when I pull the camera out at dinner-time to snap a couple shots of the main course or even more often, the dessert. Yum!


And if you ever had any doubts about how much I love food, all you would have to do is take a quick peek at my Instagram...


On this blog, there will definitely be recipes, ideas, and numerous posts about food. It has become a passion of mine, and I intend to continue learning about it and loving it. Because who says healthy can't be delicious? One thing is for sure: eating delicious food is most certainly very classy ;)